Step by step
- Save open work. The PC restarts during the upgrade.
- Open Settings › System › Activation.
- Expand Upgrade your edition of Windows and select Change next to Change product key.
- Enter your Windows 11 Pro key and select Next.
- Select Start to begin the upgrade. Windows installs the Pro features, restarts, and activates.
Afterwards, Settings › System › About shows Windows 11 Pro.
What changes and what doesn't
- Kept: files, installed apps, user accounts, settings.
- Added: BitLocker, Remote Desktop host, Group Policy, Hyper-V and Windows Sandbox (the last two are switched on in Windows Features when you want them).
- Unchanged: performance, updates, drivers.
Retail or OEM Pro key for the upgrade?
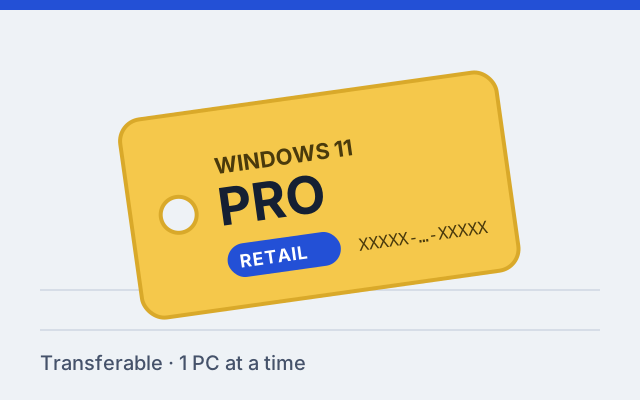
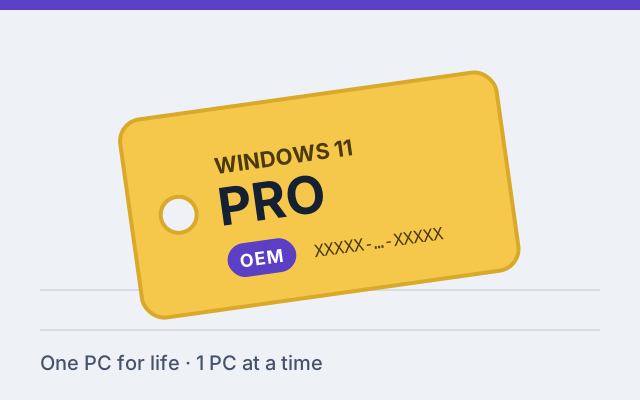
Either works. If this PC is the one you'll keep, the OEM key is cheaper. If you want Pro to follow you to your next PC, choose retail. Retail vs OEM explained.
If the upgrade doesn't start
- "This product key didn't work": confirm it's a Pro key and not Home, and check for typos. See key not working.
- Stuck on "Preparing": restart, install pending Windows updates, then try again.
- Home in S mode: switch out of S mode first in Microsoft Store (search "Switch out of S mode").
- Upgrade completed but Windows isn't activated: wait a few minutes online, then select Troubleshoot on the Activation page. Error codes are explained in activation errors.